With less than a few weeks until our son's 1st birthday, I've started getting ideas and supplies together to work on the decorations for his party! We picked a Mickey Mouse theme because he really seems to smile when that silly mouse appears :)
This is a tutorial for Mickey (or Minnie) Mouse centrepieces for your tables! I'm making 3 (maybe 4).
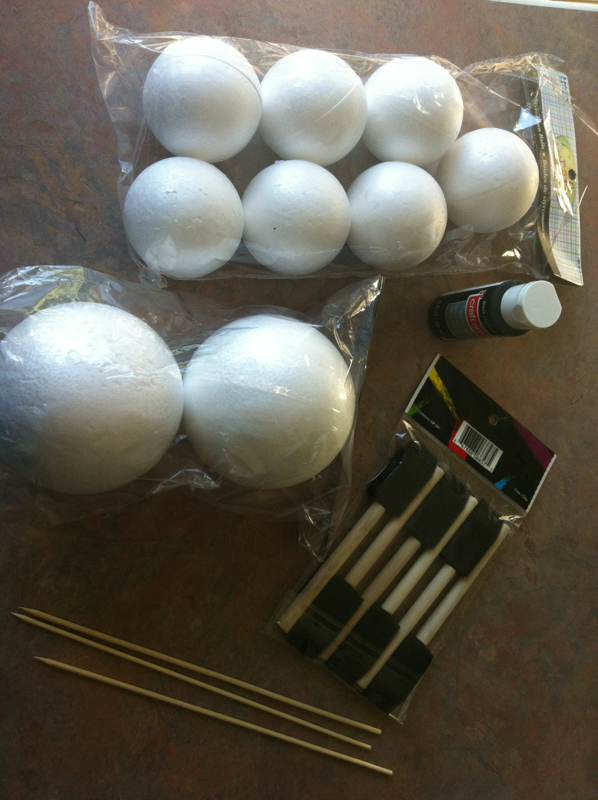
I found ALL of my supplies at the dollar store - BONUS!
Supplies needed:
- black paint
- foam brushes
- skewers & toothpicks
- styrofoam balls - 1x 4" per head
- styrofoam balls - 2x 2.5" per head
- hot glue gun & glue
DIRECTIONS:
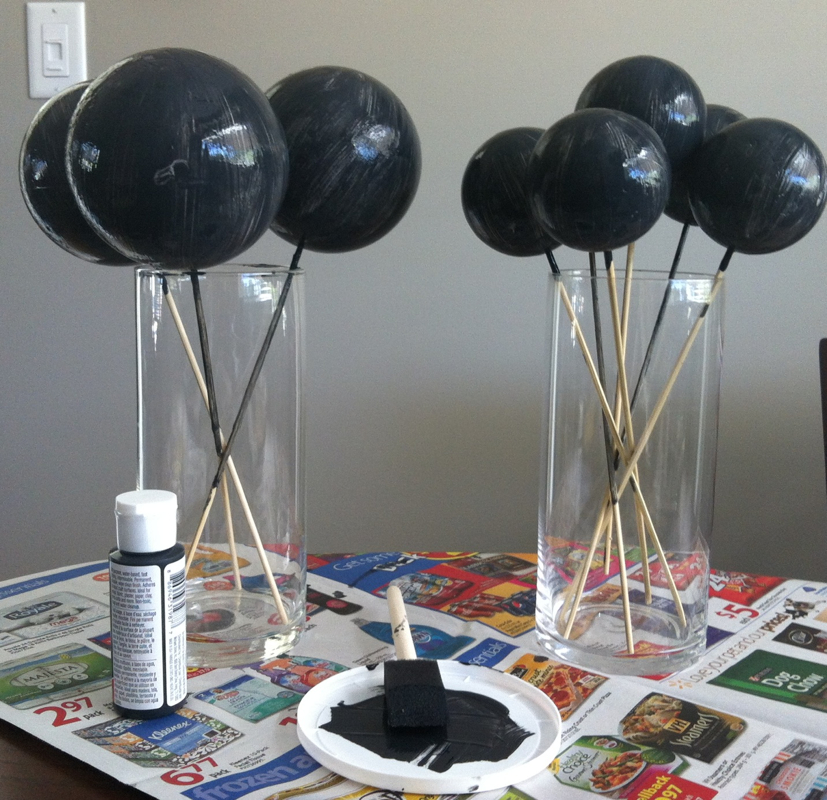
1. Paint the styrofoam balls. I stuck skewers in mine and put them standing up in a glass vase to dry. I did have them on newspaper but they were sticking so this worked way better. They balls will require 2 coats of paint.
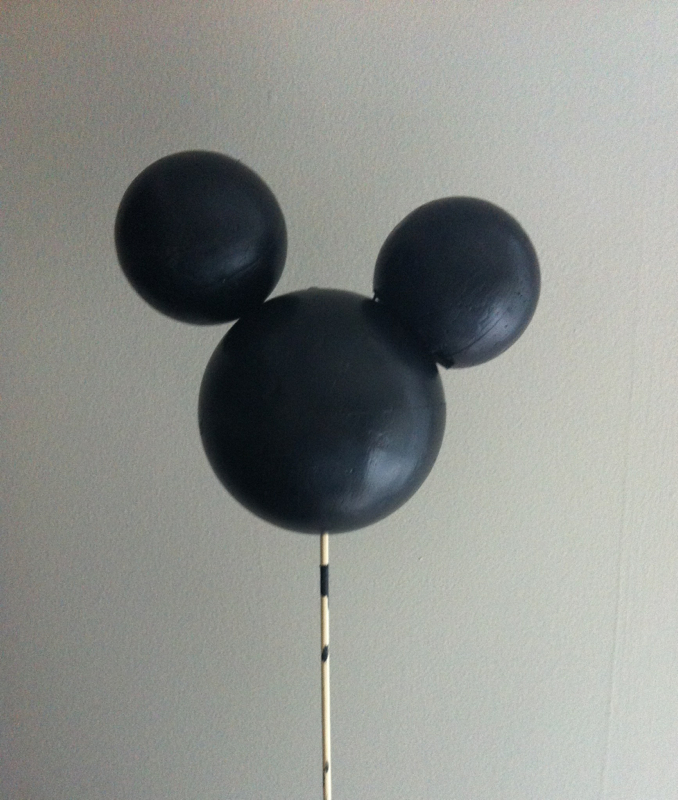
2. Attach the ears to the head. There are 2 ways you can do this (see photo). The left ear I attached the ear right to the head with a toothpick but I didn't like how the ear sat on the head, so I trimmed a small slice of the ear off, painted the bottom, and attached it to the head with a toothpick. You can decide which you like better, but I prefer option 2.

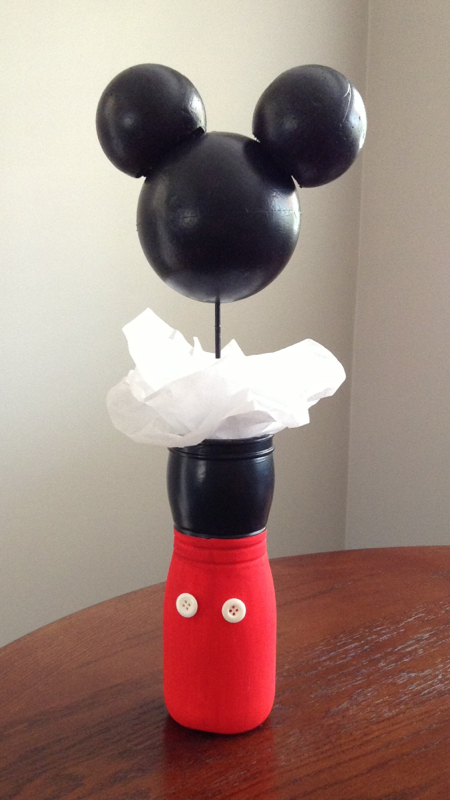
3. Paint your skewers. Add a hair bow of your making a Minnie!
You can put your centrepeices in a glass vase, cute planters, tins, jars, or these adorable Mickey bodies I made out of puffs containers; see the tutorial here: http://diaryofadiymomma.weebly.com/1/post/2013/09/repurposed-puffs-container-mickey-or-minnie-mouse-vase-or-centrepiece.html
 RSS Feed